
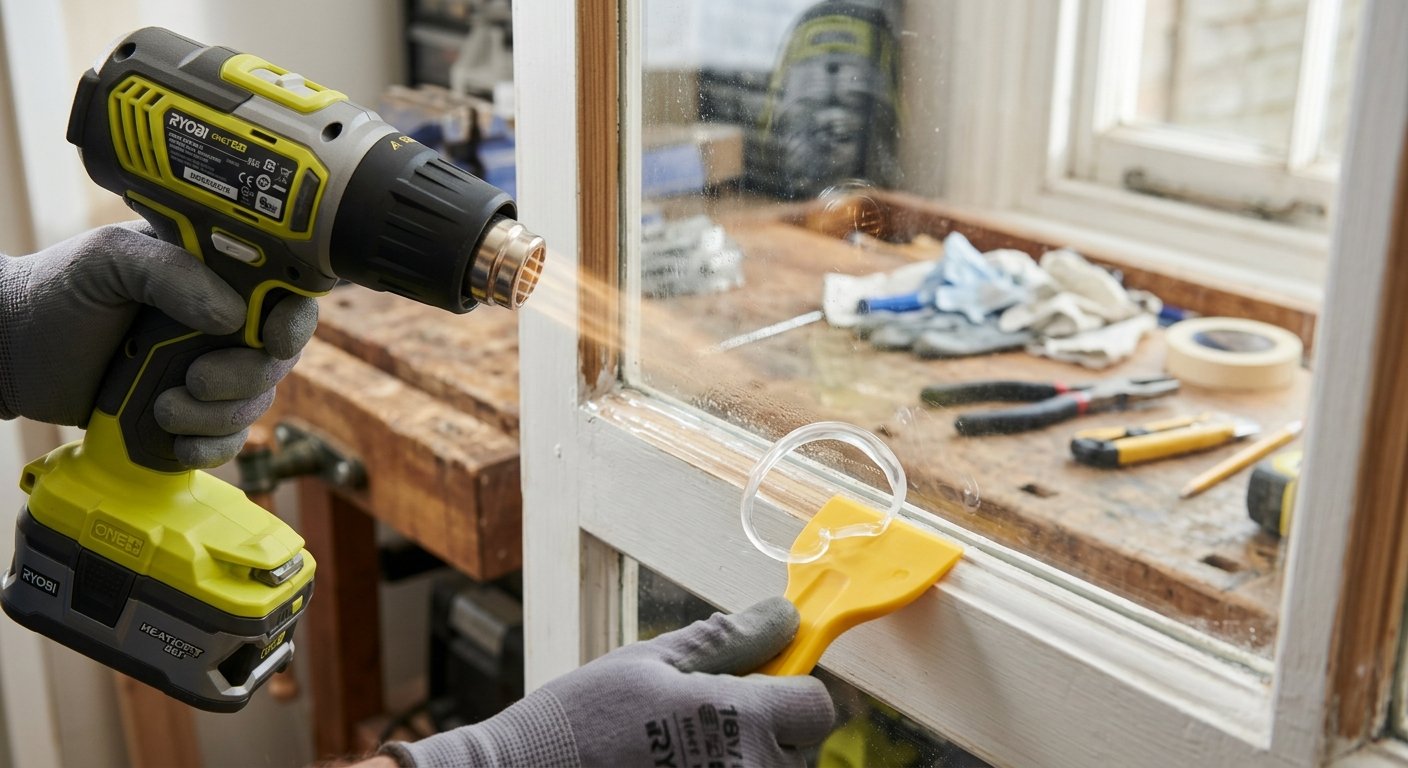
Stubborn silicone sealant on window panes, shower doors, or greenhouse glass can feel impossible to remove. Because silicone cures into a flexible, chemical-resistant rubber, standard scraping often leaves behind hazy residue or risks gouging the glass and learn How to Use a Heat Gun to Remove Silicone from Glass
Learning how to use a heat gun to remove silicone from glass is the fastest, cleanest way to break that tough adhesive bond. Controlled thermal energy softens the silicone polymer, allowing it to peel away smoothly in long strips rather than coming off in frustrating tiny flakes.
In this step-by-step guide, you’ll master the exact thermal techniques, temperature ranges, and scraping tools needed to clear old silicone quickly without cracking your glass or leaving unsightly scratches.
Safety First: Essential Gear and Thermal Precautions
Before turning on your power tools, setting up a safe workspace is mandatory. Heat guns reach temperature thresholds capable of blistering paint, melting vinyl window frames, or cracking cold glass through thermal shock.
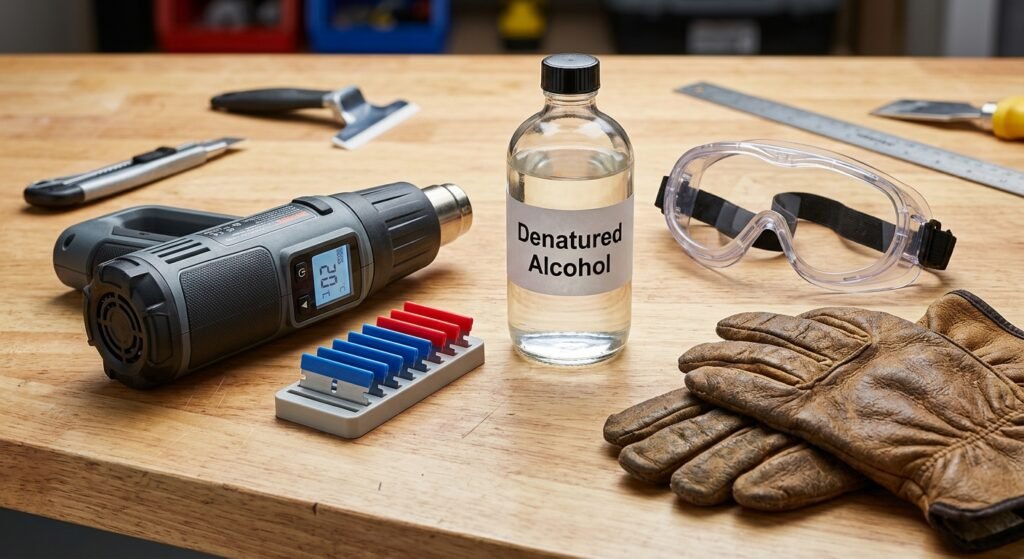
Required Tools and Materials
- Heat Gun: Variable temperature model (ideally ranging from 300°F to 1000°F).
- Scraping Tools: Plastic razor blades, nylon putty knives, or brass scrapers.
- Safety Gear: Heat-resistant gloves, safety goggles, and a dust mask.
- Cleaning Agents: Denatured alcohol, mineral spirits, or isopropyl alcohol (99%).
- Microfiber Cloths: Non-abrasive rags for final surface wiping.
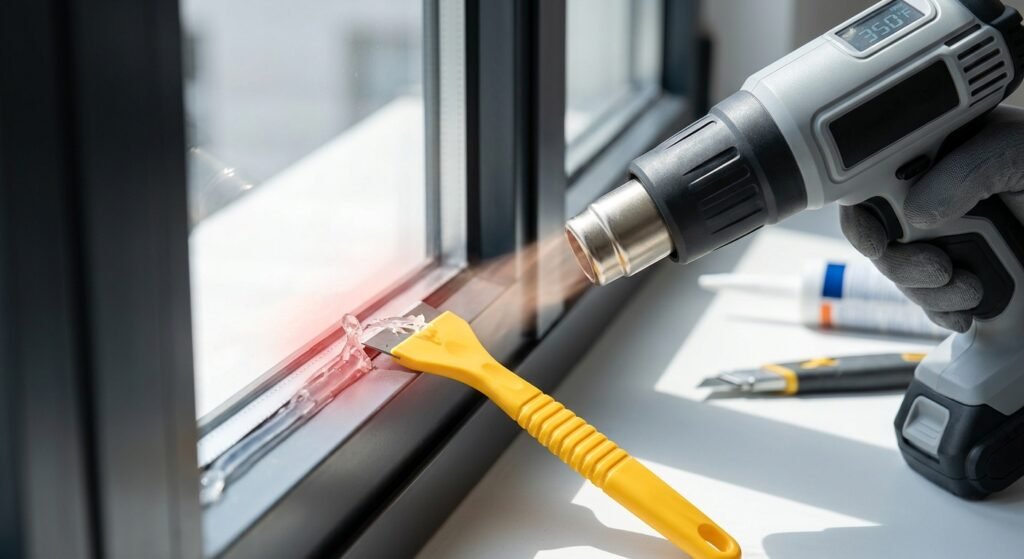
6 Safe Steps to Remove Silicone from Glass Using Heat
Follow this proven sequence to soften, lift, and strip cured silicone without damaging your glass panels.
+-------------------------------------------------------------------+
|               THE 6-STEP SILICONE REMOVAL PROCESS                 |
|                                                                   |
| [Step 1] Prep & Clean  -->  [Step 2] Set Low Heat (300°F-400°F)  |
|                                         |                         |
| [Step 4] Plastic Scrape <--  [Step 3] Sweep Thermal Stream         |
|             |                                                     |
| [Step 5] Wipe Residue  -->  [Step 6] Final Alcohol Polish         |
+-------------------------------------------------------------------+
Step 1: Prep the Glass Surface
Clear away surface dirt, dust, and grime around the silicone joint using a damp microfiber towel. Dirt particles trapped underneath your scraper can drag along the glass face and cause fine micro-scratches during the removal process.
Step 2: Set the Heat Gun to Low Temperature
Adjust your heat gun dial to its low setting, targeting approximately 300°F to 400°F (150°C to 200°C). High heat settings (above 600°F) are unnecessary for silicone and drastically increase the risk of thermal stress cracks across the pane.
Step 3: Apply Sweeping Thermal Motion
Hold the heat gun nozzle 4 to 6 inches away from the glass surface. Direct the hot airflow along a 6-inch section of the silicone line, keeping the tool in continuous, sweeping motion back and forth.
Crucial Tip: Never hold the nozzle stationary over one spot on the glass for longer than 2–3 seconds. Concentrated heat creates localized thermal expansion, which is the primary cause of cracked glass panes.
Step 4: Gently Lift and Scrape the Softened Silicone
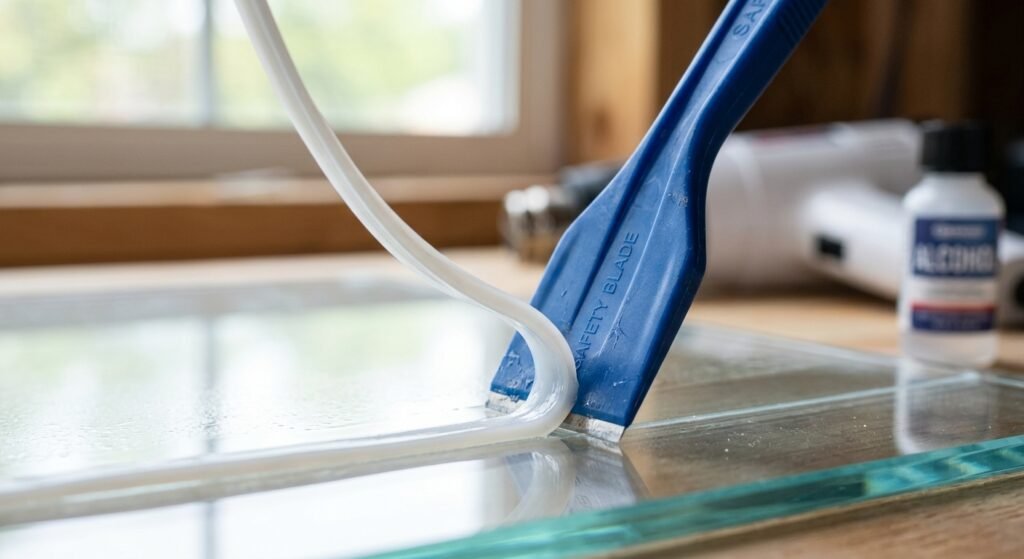
After 15–20 seconds of indirect heating, test the silicone consistency with the edge of a plastic razor blade. The silicone should feel pliable and rubbery.
Hold your plastic scraper at a low 30-degree angle against the glass and slide it underneath the softened edge. Push forward with steady pressure to peel the silicone strip away in long continuous ribbons.
Step 5: Treat Stubborn Residue Spot-by-Spot
If you encounter tough spots where the adhesive re-hardens, reapply low heat for 5–10 seconds. For stubborn film remnants, switch to a fresh plastic blade or a non-scratch nylon pad rather than pressing harder.
Step 6: Dissolve Remaining Film and Polish
Heat removes the bulk silicone bead, but a microscopic chemical film often stays behind. Dampen a clean cloth with denatured alcohol or mineral spirits and rub the glass vigorized in circular motions. The alcohol breaks down the residual silicone oils, leaving a streak-free, factory-clean surface ready for new caulking.
Pro Tips to Prevent Glass Cracks and Surface Scratches
| What to Do | What to Avoid |
| Use plastic razor blades on tempered or coated glass | Never use heavy steel scrapers or dull utility blades |
| Keep the heat gun moving along the seam continuously | Avoid holding heat on one spot to speed up softening |
| Warm cold exterior glass gradually in winter conditions | Never apply high heat directly to freezing window panes |
| Work in short 6-to-8 inch working sections | Don’t attempt to heat an entire 6-foot window at once |
Frequently Asked Questions (FAQs)
What temperature breaks down silicone on glass?
Silicone sealant begins softening significantly around 300°F to 400°F (150°C to 200°C). You do not need extreme industrial heat (800°F+) to break the bond; mild, controlled thermal exposure is sufficient to weaken the adhesive layer.
Can a heat gun shatter window glass?
Yes, if used incorrectly. Rapid, uneven temperature changes cause glass to expand unevenly, leading to thermal stress fractures. You can prevent this by keeping the heat gun moving, maintaining a distance of at least 4 inches, and avoiding high heat settings.
Is a razor blade or chemical remover better for glass surfaces?
For bulk removal, combining mild heat with a plastic razor blade is faster and cleaner than liquid chemical removers. Chemical solvents are best used as a final cleanup step to dissolve the ultra-thin film left behind after scraping.
Conclusion
Knowing how to use a heat gun to remove silicone from glass transforms a frustrating, labor-intensive chore into a quick, predictable process. By maintaining low heat settings, keeping the nozzle moving continuously, and working with non-abrasive plastic scrapers, you can strip away decades of old caulk without leaving a single scratch on your glass surfaces.
Once the old bead is removed, always remember to wipe the glass clean with alcohol to prepare a pristine, oil-free surface for your fresh weatherproofing or caulking project.