

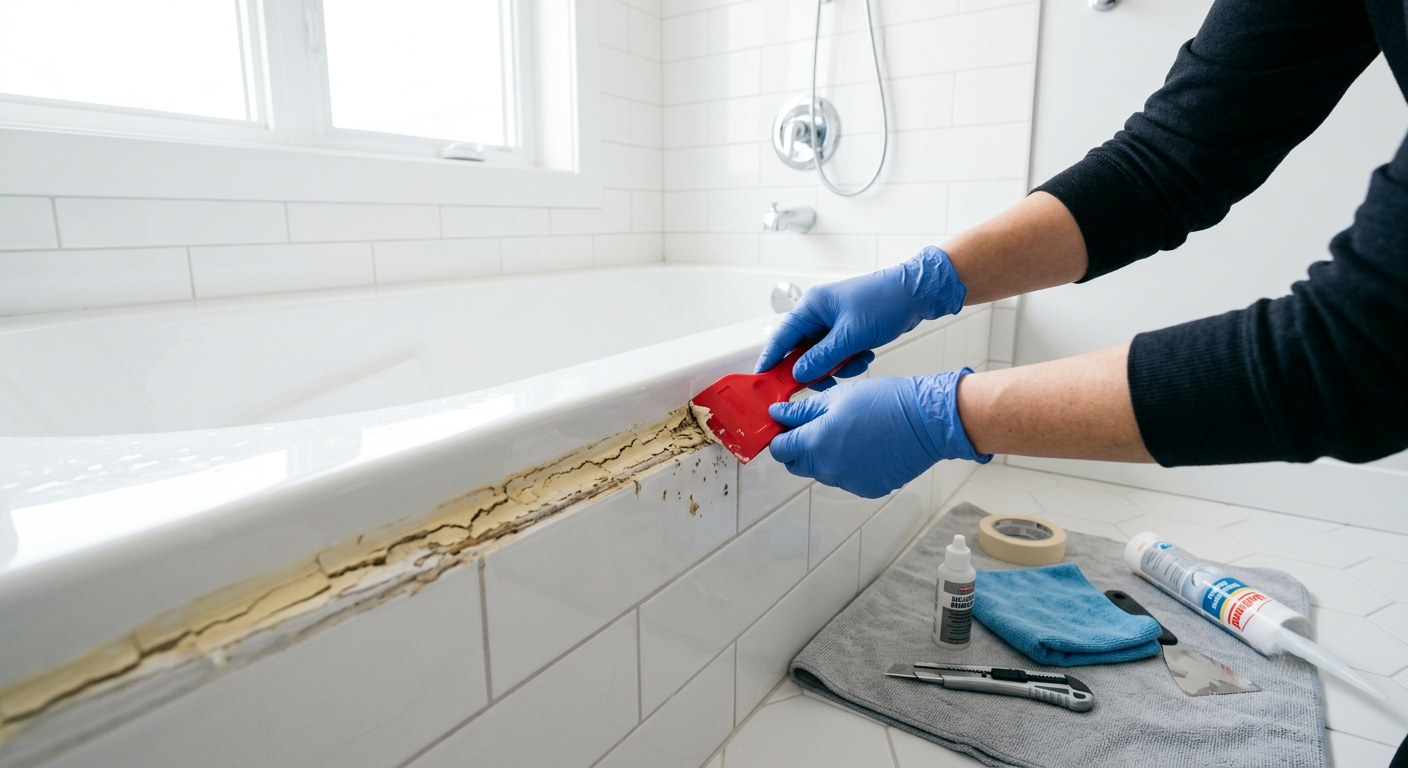
Every home eventually needs it: an old bead of silicone sealant that’s cracked, yellowed, or peeling away from where it once formed a watertight seal. Whether it’s around a bathtub, a kitchen sink, or a window frame, silicone sealant removal is one of those DIY jobs that looks simple but often goes wrong when rushed. Torn seals, leftover residue, or damaged surfaces are common results of using the wrong technique.
This guide breaks the process down into clear, manageable steps so you can remove old sealant cleanly, prep the surface properly, and get ready for a fresh, long-lasting reseal — without calling in a professional.
Key Takeaways
- Softening old silicone before cutting or scraping makes the entire job faster and cleaner.
- A sharp utility knife and a plastic scraper are usually all the tools you need for most surfaces.
- Leftover residue must be fully removed before resealing, or the new silicone won’t bond properly.
- Different surfaces (tile, glass, metal, plastic) require slightly different care to avoid damage.
- Proper drying time before applying new sealant is just as important as the removal itself.
Why Proper Silicone Sealant Removal Matters
Silicone sealant creates a flexible, waterproof barrier, but that same flexibility means it doesn’t come off in one clean piece the way old paint or tape might. If any old sealant, residue, or oils are left behind, new silicone will struggle to bond to the surface — leading to premature cracking, gaps, or water leaks down the line. Skipping proper removal is one of the most common reasons a fresh reseal fails within just a few months.
Taking the time to do silicone sealant removal correctly the first time saves you from repeating the entire job again shortly after.
Tools and Materials You’ll Need
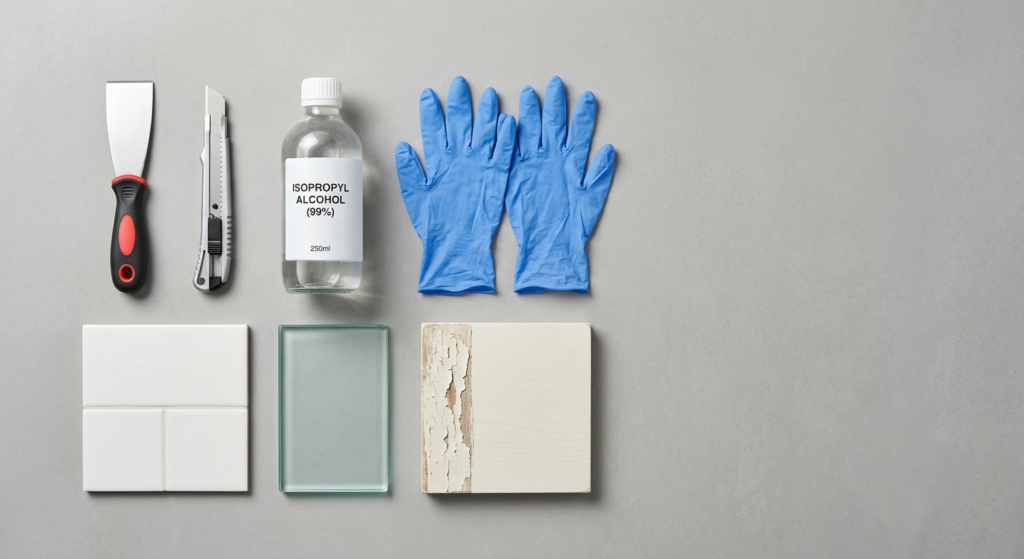
- Sharp utility knife or box cutter
- Plastic scraper or silicone-safe razor blade
- Isopropyl alcohol (90% or higher)
- Microfiber cloths
- Rubber gloves and safety glasses
- Silicone remover gel or solvent (optional, for stubborn residue)
- Painter’s tape (for prepping the new seal afterward)
Step-by-Step Silicone Sealant Removal Process
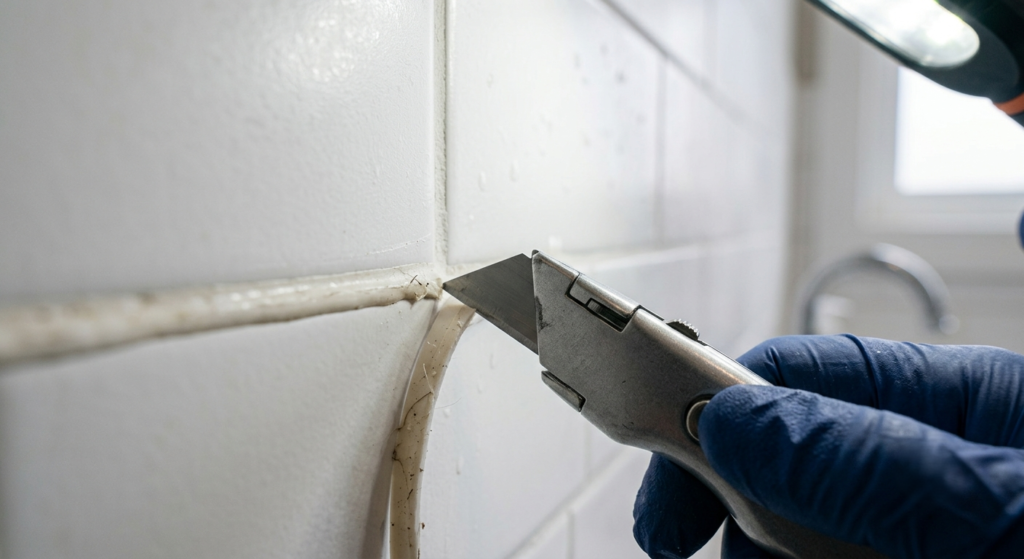
Step 1: Cut Along the Edges
Start by running a sharp utility knife along both edges of the silicone bead, where it meets the surface on either side. This separates the bulk of the sealant from the wall or fixture and makes it far easier to lift in one continuous strip rather than picking at fragments.
Work slowly and keep the blade angled slightly away from the surface to avoid nicking tile grout, glass, or painted trim.
Step 2: Peel and Scrape the Bulk of the Sealant
Once both edges are cut, use your fingers or a plastic scraper to peel the silicone strip away in one motion. For sealant that resists pulling away cleanly, a plastic scraper held at a low angle works best to lift it without gouging the surface underneath.
If the silicone is old and brittle, it may come away in smaller pieces — that’s normal, and just requires a bit more patience during this stage.
Step 3: Soften Stubborn Residue
After the main strip is removed, a thin layer of residue almost always remains stuck to the surface. To soften it:
- Apply a silicone remover gel or isopropyl alcohol directly to the residue.
- Let it sit for 10–15 minutes to break down the bond.
- Wipe away with a microfiber cloth, reapplying as needed for particularly stubborn spots.
Step 4: Clean the Surface Thoroughly
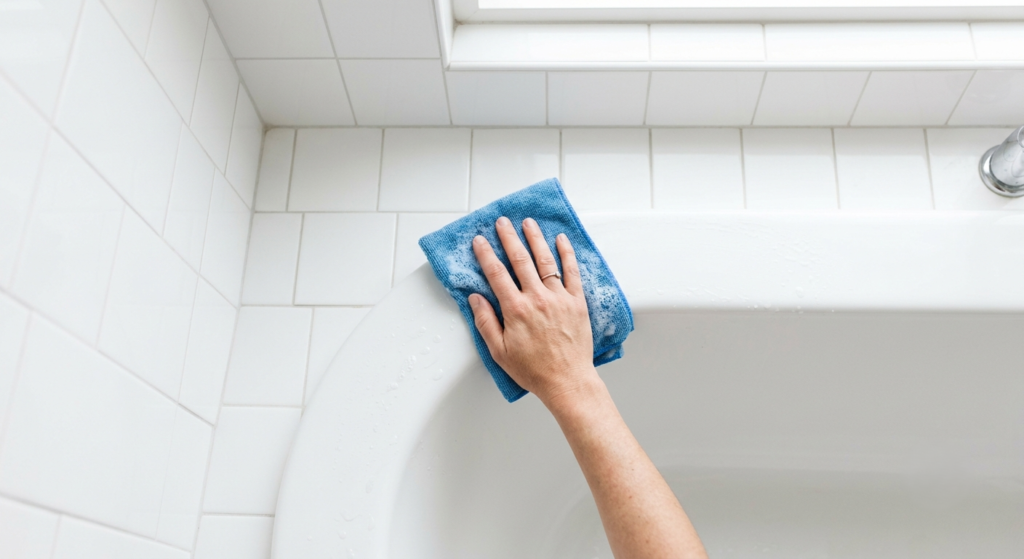
Once residue is lifted, clean the entire area with isopropyl alcohol and a fresh microfiber cloth. This step removes any oily film left behind by the old sealant or the remover product itself — both of which can prevent new silicone from adhering properly.
Step 5: Let the Surface Dry Completely
Before applying any new sealant, allow the surface to air dry fully — ideally for at least an hour in a well-ventilated space. Applying new silicone to a damp surface is one of the most common causes of early bond failure and mold growth behind the seal.
Removing Silicone Sealant from Different Surfaces
- Tile and grout: Use a plastic scraper only; metal blades can chip glazed tile edges.
- Glass: Always soften first with heat or vinegar before scraping to avoid surface scratches.
- Metal fixtures: Isopropyl alcohol works well and won’t corrode most metal finishes.
- Painted wood trim: Test solvents on a hidden section first, since some removers can strip paint.
Common Mistakes to Avoid
- Skipping the cutting step. Trying to pull silicone off without cutting the edges first often tears the bead unevenly and leaves more residue behind.
- Using the wrong tool for the surface. A metal blade is fine for some surfaces but risky on glass or soft tile glazing.
- Resealing before the surface is fully dry. This is one of the top reasons new silicone fails within weeks.
- Ignoring ventilation. Solvents and removers should always be used in a well-ventilated space.
Conclusion
Silicone sealant removal is a manageable DIY task once you understand the right order of steps: cut, peel, soften, clean, and dry. Rushing any one of these stages — especially surface cleaning and drying — is what leads to failed reseals and repeat jobs. With the right tools and a little patience, you can remove old sealant cleanly and set yourself up for a durable, professional-looking result the next time you apply new silicone.
Frequently Asked Questions
What is the easiest way to remove old silicone sealant? Cutting along both edges of the bead with a utility knife before peeling it away is the easiest and cleanest method, since it prevents the sealant from tearing into smaller, harder-to-remove fragments.
How do you remove silicone sealant residue without damaging the surface? Isopropyl alcohol or a dedicated silicone remover gel applied for 10–15 minutes will soften residue enough to wipe away with a microfiber cloth, without needing abrasive scrubbing.
Can you use vinegar for silicone sealant removal? Yes, white vinegar can help soften silicone sealant before scraping, particularly on glass and tile, though it works best on thinner residue rather than thick, fully cured beads.
How long should you wait before resealing after removal? It’s best to wait at least an hour, and ideally longer in humid environments, to ensure the surface is completely dry before applying new silicone sealant.
Does silicone sealant remover work on all surfaces? Most silicone removers are safe for tile, glass, and metal, but they should be spot-tested on painted or finished wood surfaces first, since some formulas can strip paint or finish.