

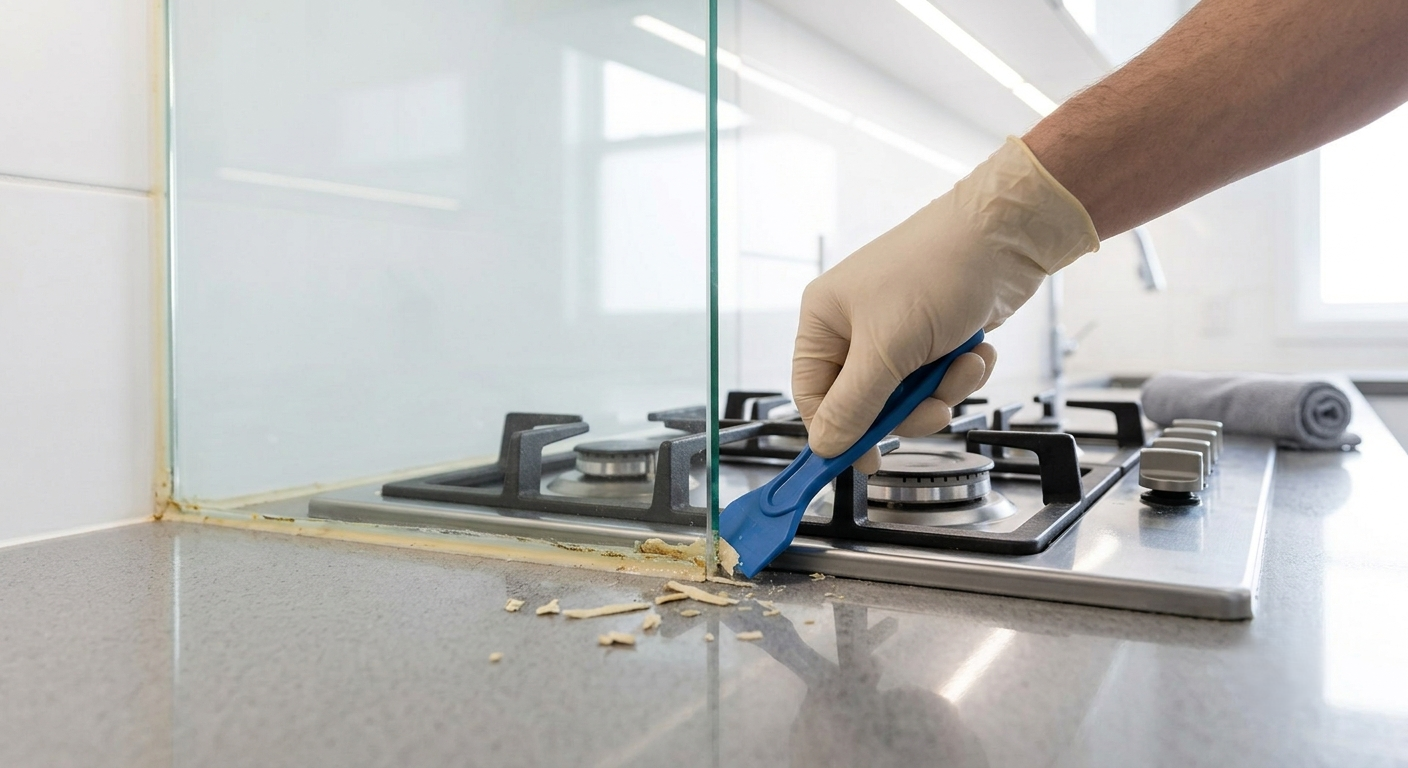
A kitchen glass splashback faces a tougher environment than almost any other glass surface in the home — constant exposure to heat, grease, steam, and food splatter all take a toll on the silicone sealant along its edges. Once that seal cracks, discolors, or starts pulling away, removing silicone from kitchen glass splashback becomes necessary to keep the area both clean and properly protected against moisture behind the glass.
These 5 proven tips cover a safe, effective method for removing old silicone from a kitchen splashback without scratching the glass or leaving greasy residue behind.
Key Takeaways
- Kitchen splashback silicone often has embedded grease and grime, which needs to be addressed separately from the silicone itself.
- Softening old silicone before scraping reduces the risk of scratching decorative or tempered splashback glass.
- Plastic scrapers are the safest tool for a glass splashback; metal blades risk permanent scratches.
- A degreasing step before final polishing gives the clearest, streak-free result.
- Full drying time is essential before applying new, heat-resistant silicone sealant.
Why Kitchen Splashback Silicone Wears Differently
Unlike bathroom silicone, which mainly deals with water and humidity, the silicone around a kitchen splashback is regularly exposed to cooking heat, oil splatter, and steam. This combination tends to make the sealant more prone to hardening unevenly and picking up a layer of grease alongside the usual buildup, which is why removing silicone from kitchen glass splashback often takes an extra degreasing step compared to bathroom or window silicone removal.
Splashback glass is also frequently decorative, tempered, or coated with a printed or painted backing, making it more sensitive to scratching and certain strong solvents than plain window glass.
Tools and Materials You’ll Need
- Plastic razor blade or silicone-safe scraper
- Isopropyl alcohol (90% or higher)
- Degreasing dish soap or kitchen degreaser
- White vinegar (optional, for softening)
- Microfiber cloths
- Rubber gloves and safety glasses
The 5 Proven Tips for Removing Silicone from Kitchen Glass Splashback
Tip 1: Degrease the Area First
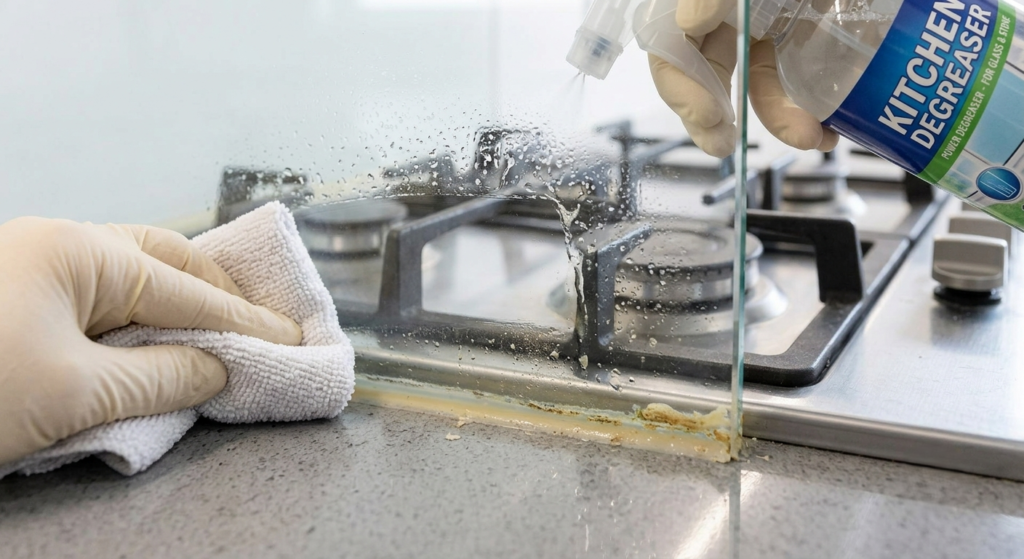
Before attempting to soften or scrape the silicone, wipe down the surrounding area with a degreasing dish soap or kitchen degreaser. This clears away any grease film that can interfere with softening agents and makes it easier to see exactly where the old silicone bead begins and ends.
Tip 2: Soften the Old Silicone Before Scraping
Once the area is degreased, apply a silicone remover gel or white vinegar directly to the sealant and let it sit for 15–20 minutes. Splashback silicone that’s absorbed cooking oils over time can be slightly more resistant to softening, so a longer dwell time is often needed compared to bathroom silicone.
Tip 3: Scrape at a Low, Flat Angle Only
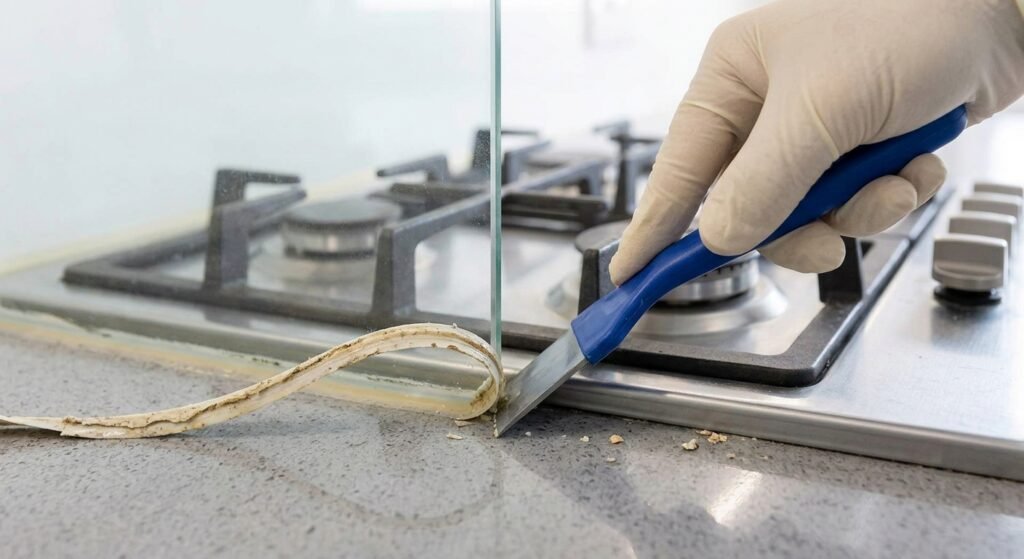
Using a plastic scraper, hold it nearly flat against the glass — around a 15-degree angle — and push gently in one direction. Work in small sections, especially near corners or where the splashback meets the countertop, where silicone tends to be thickest.
Avoid any sawing motion, which increases the risk of visible scratches on a decorative or printed glass splashback.
Tip 4: Finish with Isopropyl Alcohol for Leftover Residue
After the bulk of the silicone is removed, a combination of thin residue and grease film usually remains. Soak a microfiber cloth in isopropyl alcohol and wipe in small circular motions, following up with a degreasing wipe if any greasy haze remains.
Tip 5: Let It Dry Fully Before Resealing
Wipe the entire splashback with a clean, dry microfiber cloth and inspect under angled light, which reveals any leftover residue or grease film more clearly than a straight-on view. Allow the surface to dry completely, ideally for at least an hour, before applying new silicone.
Choosing the Right Silicone for Splashback Resealing
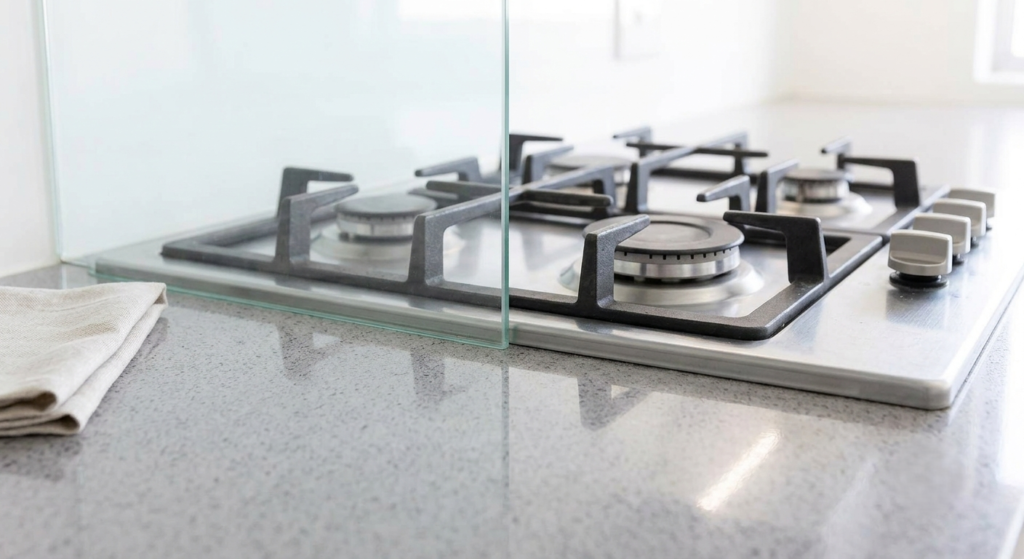
Standard silicone sealant isn’t always ideal for areas directly behind stovetops, since it can discolor or degrade faster under repeated heat exposure. Look for a high-temperature, kitchen-rated silicone sealant when resealing a splashback near a cooking area, as it holds up better against heat and grease over time.
Common Mistakes to Avoid
- Skipping the degreasing step. Grease film can prevent softening agents from working effectively on kitchen silicone.
- Using a metal blade on decorative glass. Printed or coated splashbacks are especially prone to visible scratching.
- Ignoring heat exposure when choosing new sealant. Standard silicone may degrade faster behind a stovetop than a heat-resistant formula.
- Rushing the drying time before resealing. Trapped moisture behind new silicone can lead to early failure, especially in a humid kitchen environment.
Conclusion
These 5 proven tips for removing silicone from kitchen glass splashback take a slightly different approach than other glass surfaces, mainly due to the grease and heat exposure this area faces. Degreasing first, softening the silicone properly, scraping gently at a low angle, finishing with isopropyl alcohol, and letting it dry fully all contribute to a scratch-free result that’s ready for a fresh, heat-resistant seal. With the right process, this is a manageable DIY job that keeps your kitchen looking clean and properly protected.
Frequently Asked Questions
How do you remove old silicone from a kitchen splashback without scratching it? Degreasing the area first, then softening the silicone with vinegar or a remover gel before scraping at a low angle with a plastic tool, is the safest method for a kitchen glass splashback.
Why is kitchen splashback silicone harder to remove than bathroom silicone? Splashback silicone often absorbs cooking grease and oils over time, which can make it slightly more resistant to standard softening agents compared to bathroom silicone.
Can isopropyl alcohol remove grease along with silicone residue? Isopropyl alcohol can help dissolve some grease film, but a dedicated degreaser is generally more effective for heavier kitchen grease buildup.
Does a kitchen glass splashback need special silicone when resealing? Yes, a heat-resistant, kitchen-rated silicone is recommended for a splashback near a stovetop, since standard silicone can discolor or degrade faster under repeated heat exposure.
How long should a kitchen splashback dry before new silicone is applied? Allow at least an hour of drying time in a well-ventilated kitchen to ensure the surface is completely free of moisture before applying new sealant.