

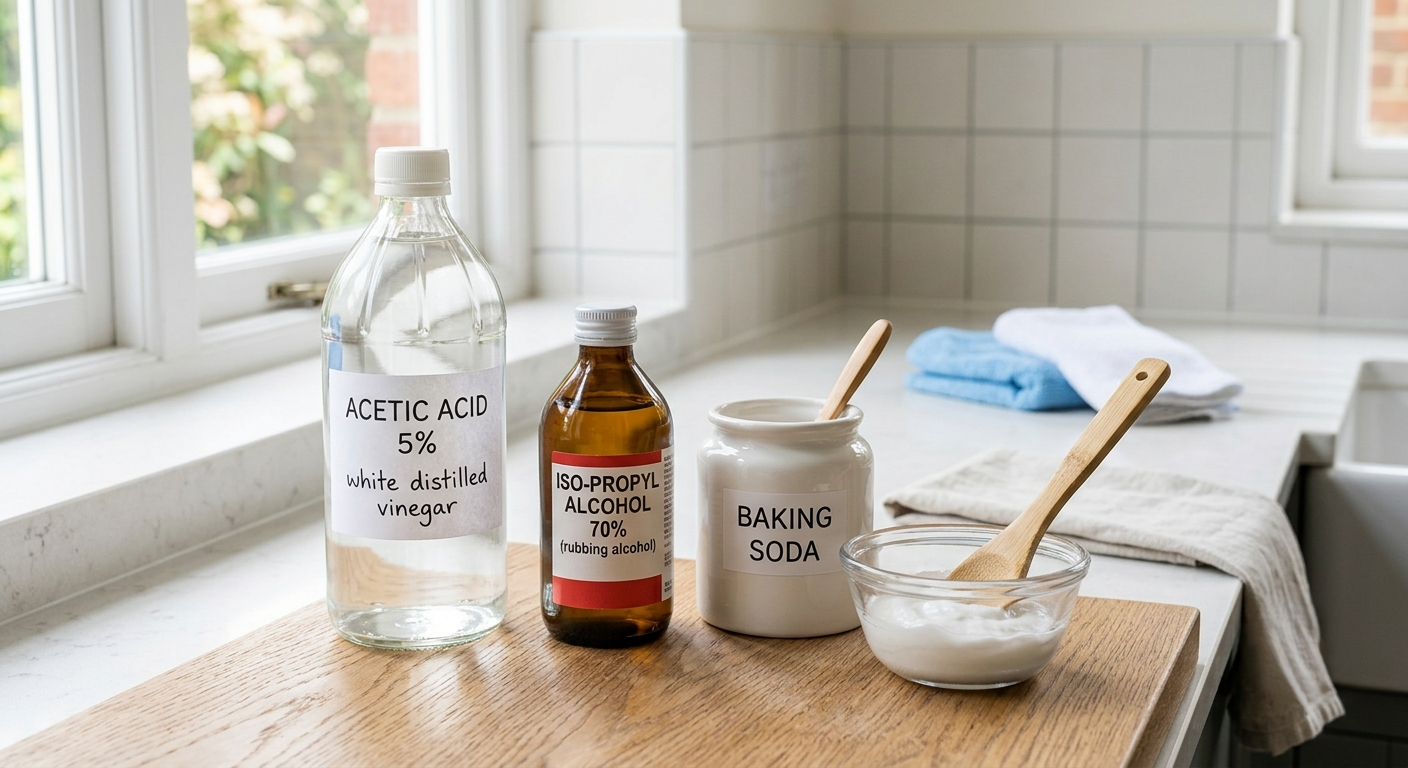
Not every silicone removal job calls for a specialty product from the hardware store. In many cases, a well-made DIY silicone remover using ingredients already sitting in your kitchen or bathroom cabinet can break down old sealant just as effectively — without the cost or strong chemical smell of commercial removers. Whether you’re dealing with a small silicone spill, leftover caulk residue, or a stubborn bead around a sink, homemade solutions can often get the job done.
This guide covers which household ingredients genuinely work for silicone removal, how to combine them properly, and when it’s worth reaching for a commercial product instead.
Key Takeaways
- White vinegar, isopropyl alcohol, and baking soda are the most effective homemade silicone removal ingredients.
- Homemade removers work best on residue and thinner deposits, not thick, fully cured beads.
- Dwell time matters more than scrubbing force when using DIY solutions.
- Always test any homemade mixture on a small, hidden area first.
- For large or heavily cured silicone jobs, a commercial remover may still save time and effort.
Why Consider a DIY Silicone Remover
Commercial silicone removers work well, but they often come with strong solvents, higher costs, and sometimes more product than a small job actually needs. A DIY silicone remover offers a few practical advantages:
- Affordability: Most ingredients are already in your home.
- Lower odor and fume exposure: Household ingredients like vinegar are far milder than industrial solvents.
- Convenience: No need to run to the store for a small touch-up job.
That said, homemade solutions aren’t a universal fix — they tend to work best on smaller spots, residue, or moderately aged silicone rather than thick, years-old caulk beads.
The Best Homemade Ingredients for Silicone Removal
White Vinegar
White vinegar’s mild acidity breaks down the surface bond of silicone sealant, making it easier to lift with a scraper. It’s especially effective on glass, tile, and most metal fixtures, and is gentle enough to use without damaging most household surfaces.
How to use it: Apply directly to the silicone with a spray bottle or soaked cloth, and let it sit for 15–20 minutes before scraping.
Isopropyl Alcohol
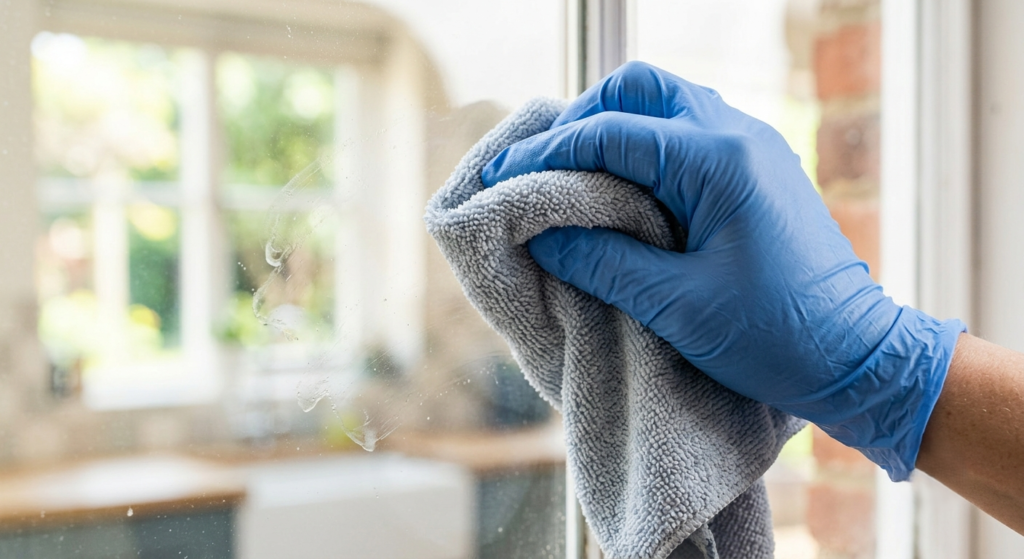
Isopropyl alcohol is one of the most reliable ingredients for dissolving thin silicone residue and leftover film after the bulk of the material has been scraped away. It evaporates quickly and doesn’t leave streaks behind, making it ideal for glass and mirrored surfaces.
How to use it: Soak a cloth in 90%+ isopropyl alcohol and press it against the residue for 5 minutes before wiping in circular motions.
Baking Soda Paste
For slightly thicker deposits, mixing baking soda with a small amount of water into a paste creates a mild abrasive that can help lift softened silicone without scratching most hard surfaces. This works especially well after the silicone has already been softened with vinegar or alcohol.
How to use it: Mix two parts baking soda with one part water, apply to the softened area, and gently rub with a soft cloth before rinsing clean.
Vegetable Oil or Cooking Oil
Vegetable oil can help loosen silicone residue on non-porous surfaces by penetrating and softening the bond over time. It’s a gentler, slower-acting option best suited for delicate surfaces where vinegar or alcohol might not be ideal.
How to use it: Apply a small amount directly to the residue and let it sit for at least 30 minutes before wiping away with a clean cloth.
Step-by-Step: Making and Using a DIY Silicone Remover
Step 1: Choose the Right Ingredient for the Job
Match the ingredient to the surface and the age of the silicone:
- Fresh or lightly cured silicone → vinegar
- Thin residue or film → isopropyl alcohol
- Slightly thicker, softened deposits → baking soda paste
- Delicate or sensitive surfaces → vegetable oil
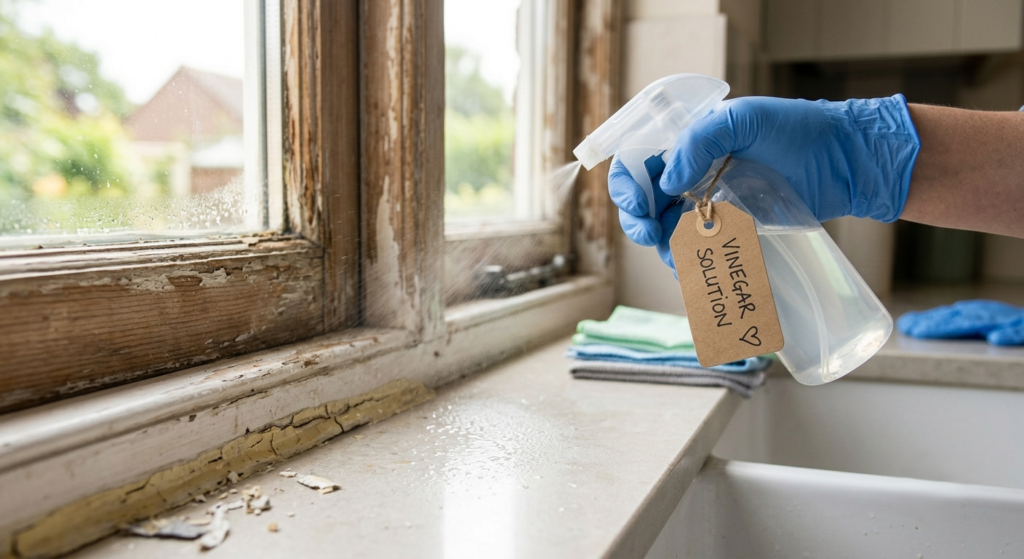
Step 2: Apply and Let It Sit
Whichever ingredient you choose, resist the urge to scrub immediately. Dwell time is what actually breaks down the silicone bond — apply the solution, then leave it undisturbed for the recommended time before attempting to remove anything.
Step 3: Scrape or Wipe Gently
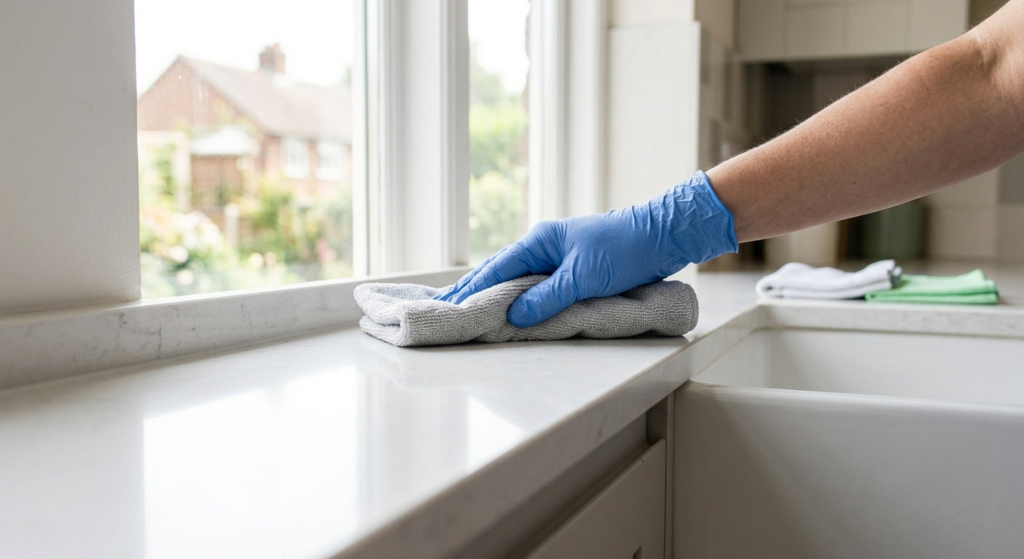
Once the silicone has softened, use a plastic scraper for thicker deposits or a soft cloth for residue. Always work at a low angle and avoid pressing hard, letting the softened material lift away rather than forcing it off.
Step 4: Repeat as Needed
Stubborn spots may need a second or third application. This is normal and far safer for the surface than increasing pressure or switching to a stronger, undiluted chemical.
When to Use a Commercial Silicone Remover Instead
Homemade solutions are excellent for small, manageable jobs, but a commercial silicone remover is worth considering when:
- The silicone bead is thick, old, and fully cured
- You’re working on a large surface area, like a full window frame or shower enclosure
- The surface is particularly delicate and requires a product formulated for controlled results
Common Mistakes to Avoid
- Skipping the test spot. Always try any homemade mixture on a small, hidden area first, especially on painted or finished surfaces.
- Not allowing enough dwell time. Wiping too soon after application is the most common reason DIY solutions seem “not to work.”
- Using too much abrasive pressure. Baking soda paste should be applied gently, not scrubbed hard enough to scratch the surface.
- Expecting instant results on thick, old silicone. Homemade solutions often need repeated applications for tougher jobs.
Conclusion
A well-chosen DIY silicone remover can handle a surprising number of household silicone removal jobs, from residue on glass to smaller caulk touch-ups, using nothing more than vinegar, isopropyl alcohol, baking soda, or oil. The key to success is matching the right ingredient to the surface and giving it enough time to work before scraping or wiping. For bigger, more stubborn jobs, a commercial remover may still be the faster choice — but for everyday spots and residue, these homemade solutions genuinely hold up.
Frequently Asked Questions
What household item removes silicone the best? White vinegar is generally the most effective all-purpose household ingredient for softening silicone sealant before removal, particularly on glass and tile surfaces.
Does rubbing alcohol dissolve silicone caulk? Rubbing alcohol is highly effective at dissolving thin silicone residue and film, though it typically won’t fully break down thick, cured caulk beads on its own.
Can baking soda remove silicone sealant? Baking soda paste works best as a mild abrasive to help lift already-softened silicone, rather than as a standalone remover for fully cured sealant.
How long does a homemade silicone remover need to sit before it works? Most homemade solutions need 15 to 30 minutes of dwell time on the silicone before scraping or wiping, depending on the ingredient and thickness of the deposit.
Is a DIY silicone remover as effective as a commercial one? For small spots, residue, and moderately aged silicone, homemade solutions can be just as effective, though thick or very old sealant may still respond better to a commercial-grade remover.